Mastering the Art of Trimming Small Trees: Your Comprehensive Step-by-Step Guide
Trimming small trees isn’t just about aesthetics; it’s crucial for their overall health and vitality. Learning to trim them yourself not only saves money but also empowers you to care for your greenery effectively. In this comprehensive guide, we’ll walk you through each step of the process, ensuring your trees thrive for years to come.
Gather the Necessary Tools
Before you begin, ensure you have the right tools for the job. Pruning shears, loppers, and a pruning saw are essential for trimming small trees effectively.
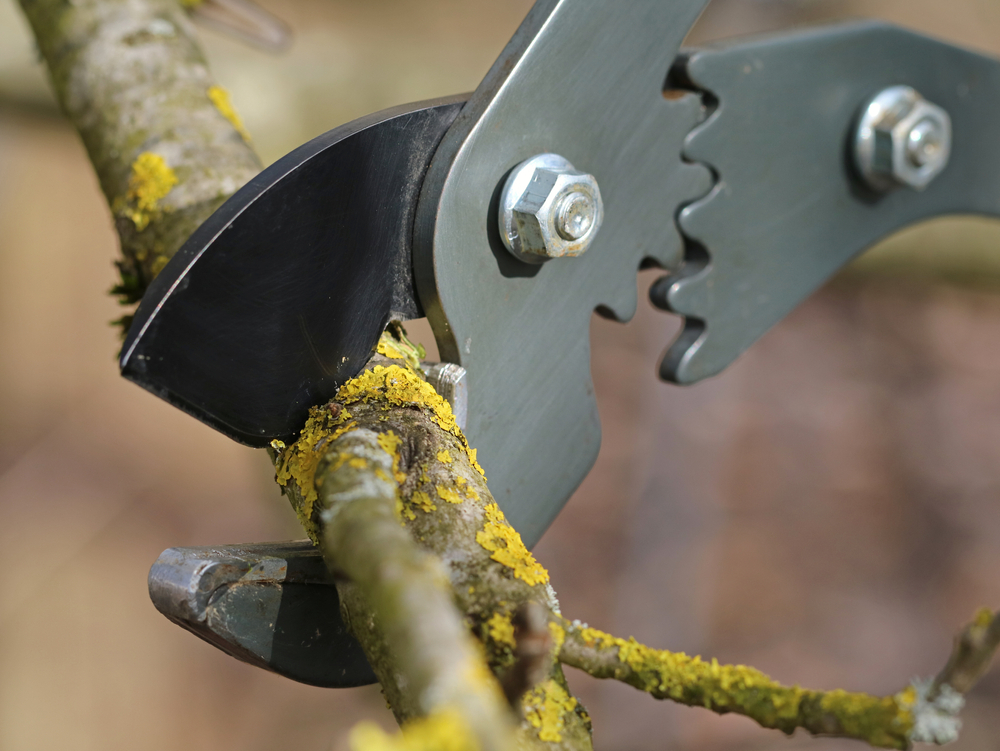
- Pruning Shears: These are ideal for cutting small branches up to 1 inch in diameter. Choose bypass shears for clean cuts or anvil shears for more robust branches.
- Loppers: Designed for branches up to 2 inches in diameter, loppers provide the extra leverage needed to tackle thicker limbs. Look for models with extendable handles for added reach.
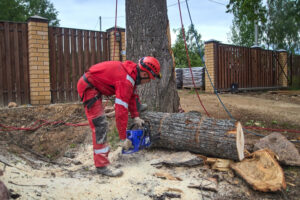
- Pruning Saw: For branches larger than 2 inches, a pruning saw is necessary. Opt for a curved blade saw for easy maneuverability in tight spaces.
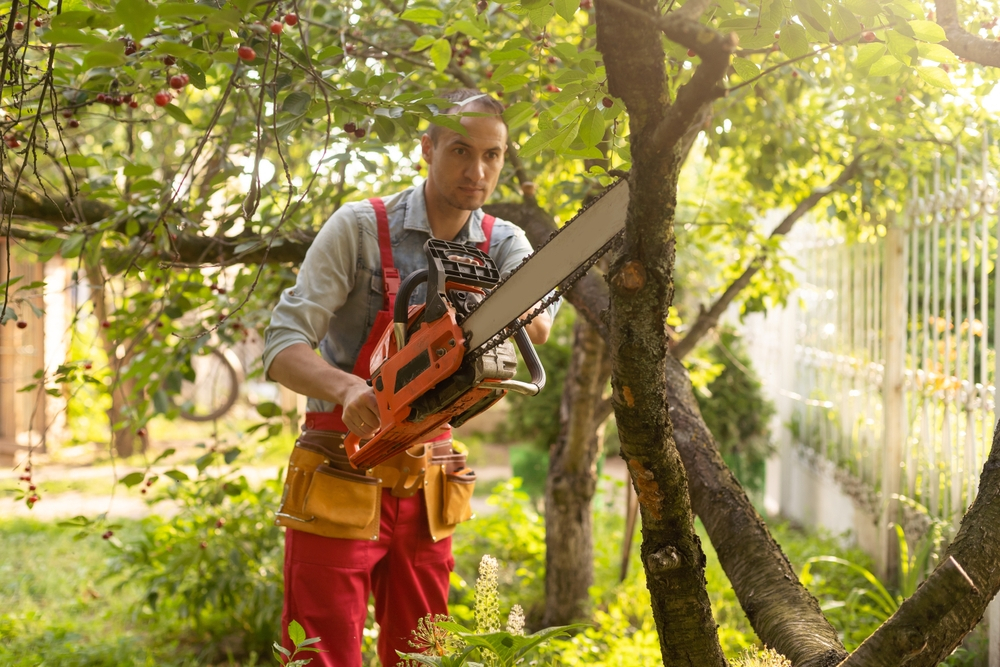
Safety is paramount when working with sharp tools. Wear gloves and safety glasses to protect your hands and eyes from sharp branches and debris. Consider wearing a helmet if working on taller trees to guard against falling branches.
Understand the Tree’s Growth Pattern
Before diving into trimming, take a moment to observe your tree’s growth pattern. Trees exhibit various habits, including upright, spreading, and weeping. Understanding these patterns will guide your trimming decisions and help maintain the tree’s natural shape.
Identify the tree’s main branches, also known as scaffold branches. These primary limbs provide the tree’s structure and should be preserved during trimming. They typically form the tree’s canopy and support the majority of its foliage.
Determine the Correct Time for Trimming
Timing is critical when it comes to trimming trees. The best time to trim is during the tree’s dormant season, which typically occurs in late winter or early spring. During this time, the tree is less susceptible to stress, and pruning promotes healthy growth in the coming season.
Avoid trimming during periods of active growth, such as late spring and summer. Pruning during these times can stimulate new growth, which may be vulnerable to frost damage in colder climates.
Additionally, refrain from trimming during extreme weather conditions, such as high winds or heavy rain. These conditions can make the process dangerous and may cause further damage to the tree.
Know Which Branches to Trim
Not all branches are created equal, and knowing which ones to trim is essential for the tree’s health and appearance. When trimming small trees, focus on removing the following types of branches:
- Dead or Diseased Branches: These branches not only detract from the tree’s appearance but can also harbor pests and diseases that spread to other parts of the tree. Removing them promotes overall tree health.
- Crossing or Rubbing Branches: Branches that cross or rub against each other create wounds that can invite pests and diseases. Removing these branches improves airflow and reduces the risk of damage.
- Water Sprouts or Suckers: Water sprouts are vigorous vertical shoots that grow from the trunk or branches, often in response to stress or injury. Suckers are similar but grow from the tree’s roots. Removing these shoots redirects the tree’s energy to more productive growth.
Start Trimming
With your tools in hand and a clear plan in mind, it’s time to start trimming. Follow these steps for clean, precise cuts:
- Identify the Branch Collar: The branch collar is the swollen area where the branch meets the trunk or parent branch. It contains specialized cells that help the tree heal after pruning.
- Make a Proper Cut: Position your pruning shears or loppers just outside the branch collar and make a clean, diagonal cut. Avoid cutting too close to the trunk, as this can damage the branch collar and inhibit healing.
- Remove Large Branches Carefully: For branches larger than 2 inches in diameter, use a pruning saw and the three-cut method. Make an undercut on the underside of the branch to prevent tearing, then make a top cut slightly farther out. Finally, make a finishing cut just outside the branch collar.
Dispose of trimmed branches responsibly. Consider composting or recycling them if possible. Alternatively, cut them into smaller pieces for easier disposal.
Finishing Touches
After trimming, it’s essential to clean and maintain your tools to ensure longevity and performance. Remove any sap or debris from the blades and apply a light coating of oil to prevent rust.
Properly dispose of the trimmings to prevent the spread of pests and diseases. Avoid leaving them on the ground, as they can harbor harmful organisms.
Lastly, monitor the tree’s growth in the coming weeks and months. Keep an eye out for any signs of stress or new growth patterns that may require attention.
Conclusion
Trimming small trees may seem daunting at first, but with the right tools and knowledge, it’s a rewarding and straightforward process. By following these step-by-step instructions, you can ensure your trees remain healthy, vibrant, and beautiful year-round. Embrace the opportunity to care for your greenery and share your experiences with others. Happy trimming!
Tree Trimming Richmond
(804) 533-3943
https://treetrimmingrichmond.com/